Night Photography for Beginners

In the early part of my career, I basically would only take particular types of photos when I first started learning photography: pictures of your relatives, friends, neighbors, outdoors, some landscape and street photography, and even still life.
Even outdoors, when shooting, I’m careful and learned not to shoot directly into the sun, and always make sure not to take any picture directly at noon. I’ve even learned that the best times to shoot are right after sunrise and before sunset, for particular landscape shots.
But night photography? This was one of the situations I avoided early one. I’ve seen some professional images and incredible effects that can be achieved, but felt that it was a bigger challenge for me compared to taking photos any other time of the day.
My Challenges?
But one of the biggest challenges for me was attempting to shoot my first shots at night. I don’t know about any other photographers out there, but for me this seemed like on of those areas that I avoided early on. Why?
Well think about it. My past assumption and experience of taking photos at night hearkened memories of the old throwaway cameras from Kodak or Walmart, where you had to use the flash button for capturing the right image. First, the only technique that I would apply was the simple ‘snap and shoot’, where the only thing that mattered was getting the subjects in the frame. But rarely did these photos ever come out as what I expected, because either they were too bright, too dark, too many shadows, over exposed, or some other issue.
Secondly, I know I can’t just place my camera in Auto mode and shoot, or have my flash going non-stop when snapping photos at night, knowing that it’s not only a distraction, but being in auto-mode isn’t a sure fire-way that the picture is going to come out perfect. Anything can be off, from the focus, shutter speed, aperture, etc.
Third, which mode do I shoot in? I’ve been back and forth between Auto, Shutter and Aperture-Priority. But it took me a while to learn how to properly shoot in Manual mode, learning how to adjust ISO, shutter speed and aperture without going back and forth between Shutter Priority and Aperture Priority modes. It seemed easier in daylight, or indoor photography.
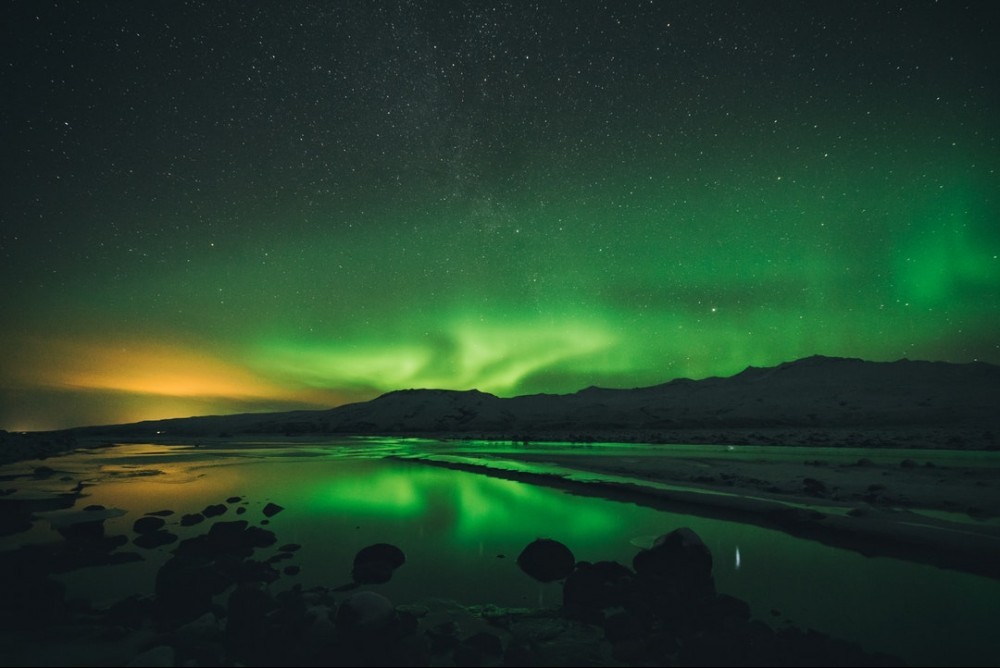
As much as I’ve done my best to avoid nighttime photography, I’ve seen some incredible shots that can be achieved at night: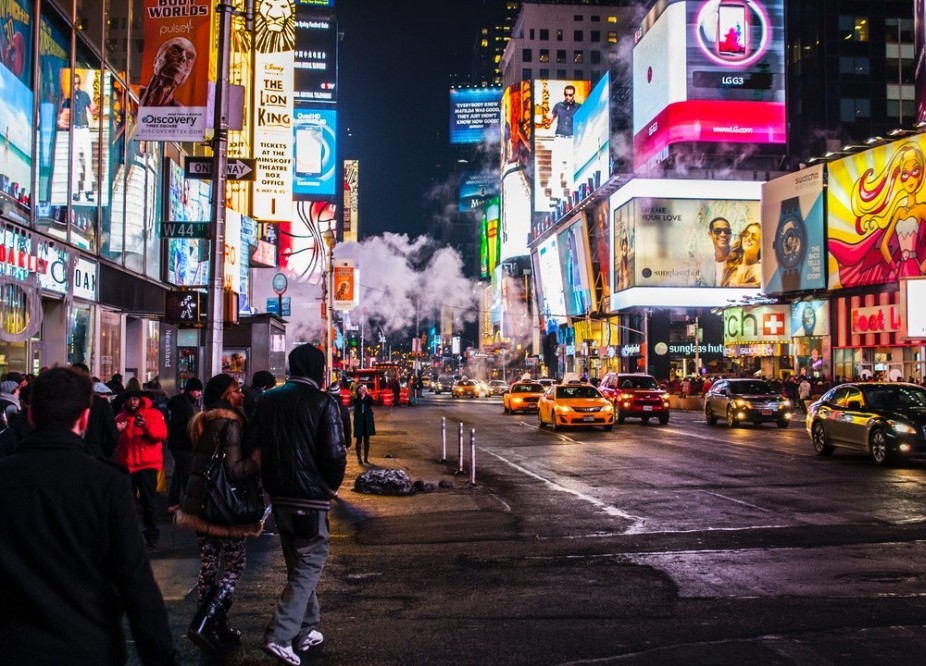
Where do I begin?
I went straight to Google and YouTube to get a feel for what other photographers are setting their dslr cameras at for night photography. What mode are they in? Are they using Auto mode with their flash? Are they using any filters on their lenses since we’re not dealing with the sun? And what about the ISO settings?
- The best starting point that I discovered were:
- Shooting in Manual Mode
- Keep my aperture to it’s lowest possible setting, which is F5.6 for my camera.
- Start off with an ISO of around 1600 for beginning, realizing the possibility of my images becoming grainier if I went even higher.
- Adjust my shutter speed as needed, according to the Exposure Level Indicator in my View Finder.
My first attempt
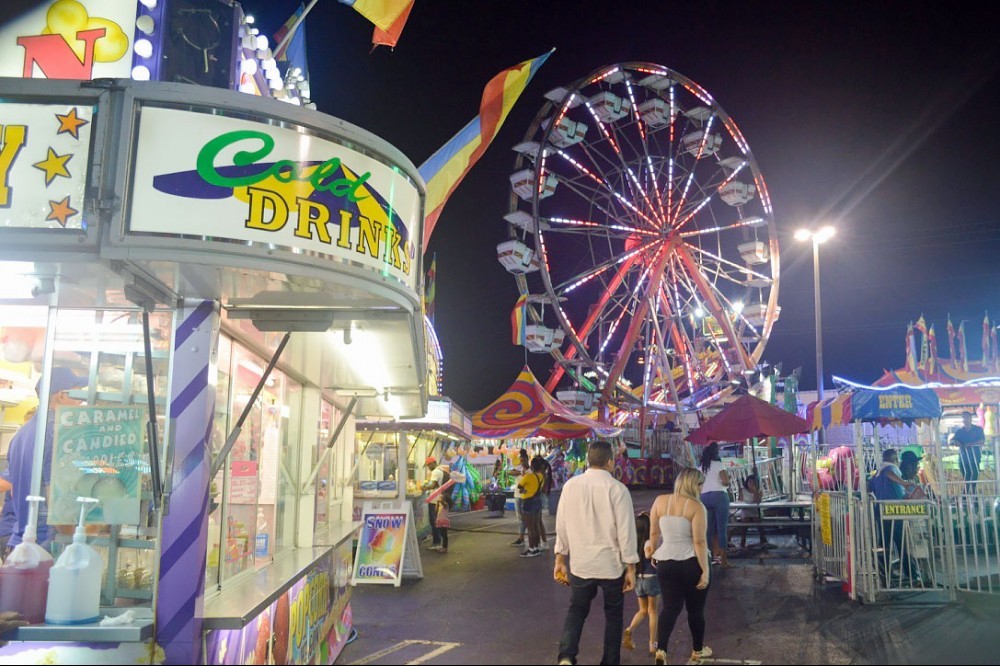
For my first attempt at taking photos at night might have been a little ambitious, as I chose an outing that would take me outside of my comfort zone: street photography at a local carnival that was being held in a nearby mall. Here’s my results from that night.
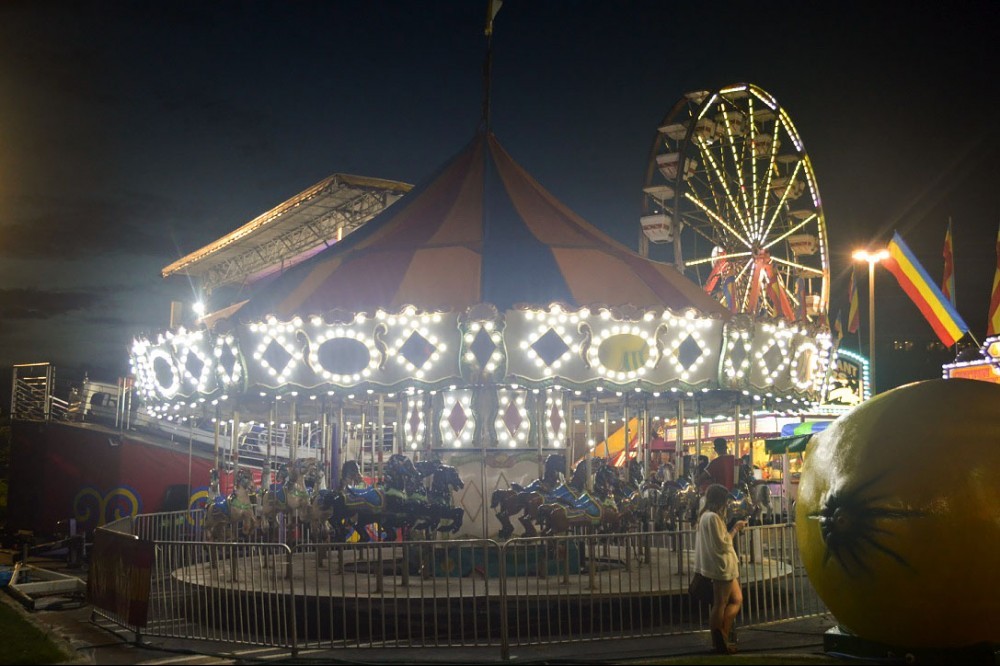
- Aperture: f/4.5
- Shutter: 1/80″
- ISO: 800
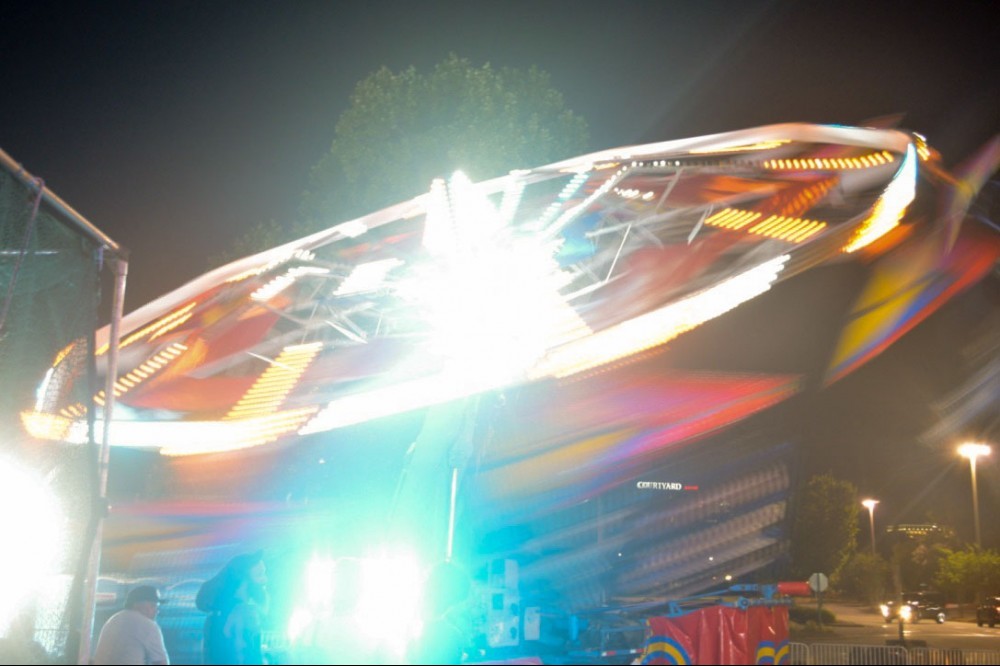
- Aperture: f/4.5
- Shutter: 1/6″
- ISO: 800
In the above image, I wanted to experiment with a longer shutter speed to see what type of effect I would get. I understand that using a fast shutter speed means that were freezing the action, whereas a longer shutter speed will let in more light, leading to some interesting effects, such as above, where the light appears to stretch itself. In this case, this Hang Glider ride, now appears more like a colorful spinning disc.
- Aperture: f/4.5
- Shutter: 1/80″
- ISO: 800
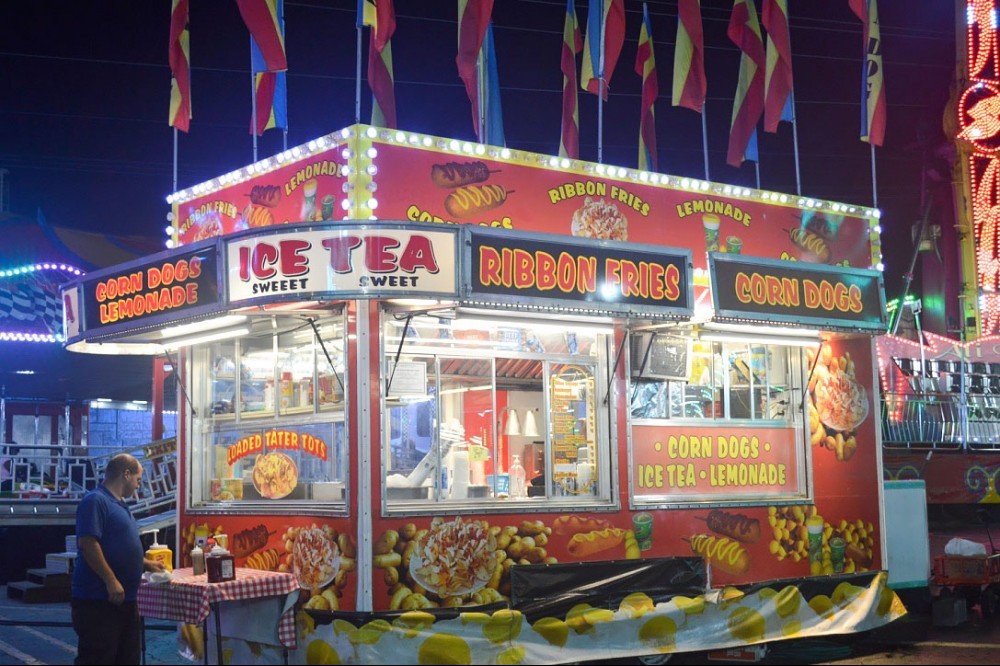
- Aperture: f/5
- Shutter: 1/60″
- ISO: 800
My Lessons Learned
Of course, these were not my only shots that I took during this event, but they were some of my better images, as I took a few hundred shots repeatedly, with trial and error, trying different shutter speeds and ISO settings. I came down from 1600 to 800 in my ISO for most of the night, as I found that it didn’t really make too much of a difference in my exposure.
I also took the liberty of removing my protected UV filter from my lens. From what I researched, the UV filter would possibly create reflection and refraction problems from my light sources, and I may even lead to possible flares, and halos in my photos. This is something that I plan on experimenting more with going forward, as there are some interesting effects that I may want to achieve at night. Especially with the other possibilities that are out there, like street photography, astrophotography, and other situations at night.
Another step that I laid aside was shooting in RAW, which I understand has many benefits, particularly when it comes to the quality of your images, and what you can work with when it comes to post editing. The one downside is since RAW images have more uncompressed information, they can be a couple times larger than JPEG files, taking up more space on my memory card.
In this particular case at this carnival, I felt it was best to keep it simple first. My purpose here was to hone my skills with the exposure triangle at night, then work my way up from here, in experimenting with other areas one step at a time.
Going Forward
Out of a few hundred photos that I snapped, I narrowed it down to about a dozen that I could work with in Photoshop, and finalize for this blog. I felt this was a good learning process for me in taking photos at night. It’s been something that was very intimidating for me for the longest.
But I realized that the only way that I’m going to get better with photography is practice. And the only way I’ll ever get over the hurdle of taking better quality photographs at night is by just getting out there and start shooting. From here, I can go back, look at what I did right and wrong, and go from here.
Please let me know your thoughts and opinions. I’m curious to know what everyone thinks, and of course, what works for you.
Thanks!
Isaiah


7 Comments
JonathLee
Great article, Isaiah!
As a beginner, I always struggle to take a photo with the best angle. However, after reading your post. I’ve learned that my problem is the lack of practicing. As you’ve mentioned, in order to capture the best moment, I should use the trial and error method by taking tens of thousands of photos.
Thanks for the great post!
Isaiah Burch
Thanks Jonah! Glad you found this helpful.
Derek Marshall
That was a pretty good effort for a first attempt Isiah. I too am a keen amateur photographer, night photography is not yet something I have attempted, although I did do a good attempt at night and long exposure mixed with HDR.
I do stand to be corrected, long exposure requires the aperture to be 1.5 to 2 seconds, with a tripod best used to completely eliminate your movement.
Keep up the good work.
cbdforpet.eu
Hi Isaiah, great article. I’ve always had a problem with taking photos at night. As a rule, I use the auto mode, but taking into account that my camera is not of the highest class, the pictures are also not of the best quality. After reading your post I see that it is worth to experiment.
Isaiah Burch
Thanks Kamil. I was the same way – only shooting in auto mode, and under the assumption that the lighting and auto focus were always perfect when it wasn’t. It’s definitely worth practicing. I started out taking several hundred shots, experimenting with various shutter speeds and apertures until I began to gain further understanding of how it works.
James McFerran
Great photos and information. The next time I take pictures I will try some of these things. I have always wondered how they get night photographs to show up. Mine never do.
Isaiah Burch
Thanks James. It will come in time with practice.